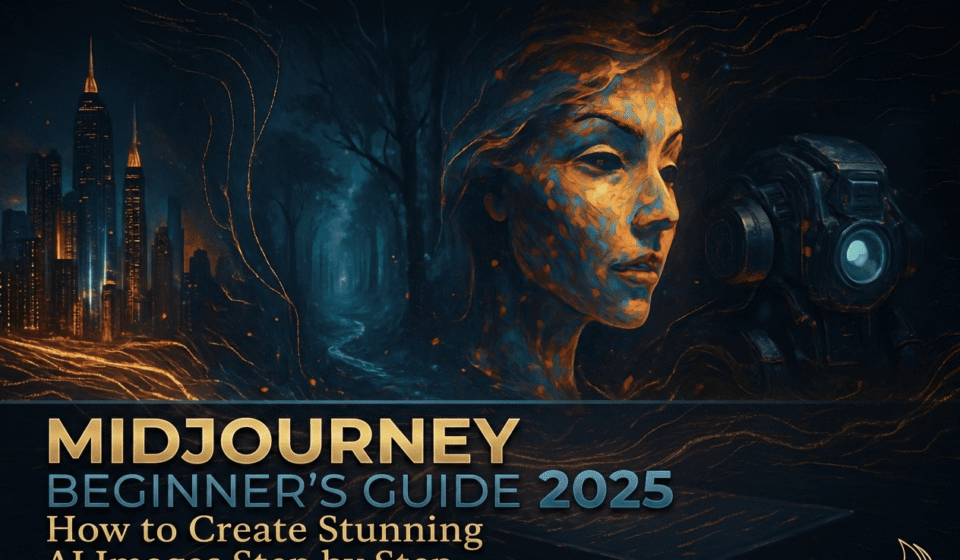

Midjourney is one of the most powerful AI image generation tools available today, capable of turning a short text description into a professional-looking piece of artwork in under a minute. If you have seen jaw-dropping AI images on social media and wondered how people make them, this guide is your starting point. I will walk you through everything from creating your account to writing prompts that actually produce great results.
What Is Midjourney?
Midjourney is an AI tool that generates images from text descriptions, called prompts. You describe what you want to see — a subject, a style, a mood, a setting — and Midjourney creates it. The results range from photorealistic portraits to fantasy artwork, architectural designs, product mockups, and everything in between.
Unlike some AI tools, Midjourney is not free, but it does offer a basic paid plan starting at around $10 per month, which gives you enough image credits to experiment and learn the tool properly.
Step 1: Create Your Account and Access Midjourney
Midjourney is currently accessed through its own web app at midjourney.com. You will need to create an account using a Google or email login. Once inside, you can choose a subscription plan and access the image generator directly through the browser interface.
Earlier versions of Midjourney required Discord, but the web app has become the primary way to use the tool and is much more beginner-friendly.
Step 2: Understand How Prompts Work
The prompt is your text description of the image you want to create. Midjourney reads your prompt and generates four image variations based on it. The more descriptive and specific your prompt is, the closer the result will be to what you had in mind.
A basic Midjourney prompt follows this rough structure:
[Subject] + [Style] + [Mood/Lighting] + [Technical parameters]
Here are some examples to illustrate the difference between a weak and strong prompt:
Weak prompt: a cat sitting outside
Strong prompt: a fluffy orange tabby cat sitting on a mossy stone wall in a cottage garden at golden hour, soft natural lighting, painterly illustration style, warm and peaceful mood
The second prompt gives Midjourney a subject (orange tabby cat), a setting (mossy stone wall, cottage garden), a time of day and lighting (golden hour, soft natural lighting), a style (painterly illustration), and a mood (warm and peaceful). The resulting image will be far more interesting and intentional.
Step 3: Key Parameters You Should Know
Midjourney supports several parameters you can add to the end of your prompt to control the output:
--ar (Aspect Ratio): Controls the shape of the image.

--ar 1:1 = square (good for social media)

--ar 16:9 = widescreen (good for YouTube thumbnails, wallpapers)

--ar 9:16 = portrait (good for phone wallpapers, Instagram Stories)
--style raw: Produces more photorealistic results with less of Midjourney's signature stylised look.

--no: Tells Midjourney what to exclude. For example, --no text, watermark removes text and watermarks from the image.

--q (Quality): Controls render quality. --q 2 gives higher quality but uses more credits.
Step 4: Refine Your Results
After Midjourney generates your four initial images, you will see several buttons beneath them:
- U1, U2, U3, U4 — Upscale buttons. These create a higher-resolution version of whichever image number you choose.
- V1, V2, V3, V4 — Variation buttons. These generate four new versions of your chosen image with slight changes.
If none of the four images are quite right, you can also click the refresh icon to generate a completely new set based on the same prompt, or edit your prompt and try again.
Prompt Styles Worth Experimenting With
One of the most enjoyable parts of learning Midjourney is discovering different artistic styles. Here are some style keywords that consistently produce great results:
- Cinematic still, film grain — for movie-like photography
- Concept art, digital painting — for game and fantasy art
- Watercolour illustration — for soft, artistic results
- Studio photography, white background — for clean product-style shots
- Retro 1970s magazine advertisement — for vintage aesthetics
- Low poly, isometric — for geometric, minimal 3D looks
Common Beginner Mistakes
Avoid overloading your prompt with too many competing ideas. If you ask for “a dragon in a forest in space on a beach”, Midjourney does not know what to prioritise and the result will be chaotic. Focus on one clear scene.
Also avoid using celebrity names or branded characters, as Midjourney will often decline or produce stylised interpretations that don’t resemble the person.
Final Thoughts
Midjourney has one of the steepest learning curves of any AI tool in terms of mastering prompt writing, but the results are worth it. Even as a beginner, you can produce genuinely impressive images within your first session by following the structure above.
Watch the full video tutorial above where I generate real images from scratch and show exactly which prompt changes produce the biggest improvements. Drop any prompts you want help with in the comments below.